Exfoliation is a crucial part of any skincare routine, but store-bought scrubs often contain harsh chemicals, artificial fragrances, or microplastics that can irritate or damage the skin over time. A homemade scrub for face not only offers full control over the ingredients used but also ensures that your skin receives nourishment from natural sources.
This article breaks down a precise 5-step process to create a homemade face scrub using simple kitchen ingredients that are safe, effective, and budget-friendly. Each step is designed to address different skin needs—from exfoliation to hydration and treatment—making this method ideal for anyone looking to achieve glowing, healthy skin without synthetic additives. Whether you have oily, dry, or sensitive skin, this guide will help you customize your scrub with natural exfoliants and skin-loving nutrients.
Step 1: Choose the Right Base for Your Homemade Face Scrub
The first step in creating an effective homemade scrub for your face is selecting a suitable base ingredient. The base serves as the primary exfoliant, and the choice depends on your skin type. For normal to oily skin, fine granulated sugar is a great option due to its gentle abrasive texture. For sensitive or dry skin, consider oatmeal powder—it’s mild and also soothing. These natural exfoliants help slough off dead skin cells without causing micro-tears. Ensure the base particles are finely ground to avoid damaging delicate facial skin. A well-chosen exfoliating base sets the foundation for an effective DIY face scrub.
Step 2: Add a Skin-Nourishing Binder Like Honey or Yogurt
Once you’ve selected your exfoliating base, the second step is adding a natural binder that offers skin benefits while holding the scrub together. Raw honey is ideal for acne-prone or inflamed skin due to its antibacterial and healing properties. It also adds moisture, making it suitable for dry skin. Alternatively, plain yogurt provides lactic acid, which gently exfoliates and brightens dull skin. Use one to two teaspoons of the binder per tablespoon of base. The binder not only makes the mixture spreadable but also contributes to the scrub’s effectiveness by delivering nutrients to the skin.
Step 3: Include a Natural Oil for Moisturization and Barrier Protection
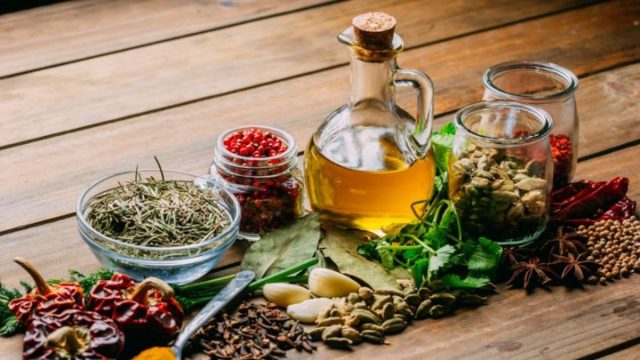
For enhanced hydration and to prevent post-exfoliation dryness, the third step is adding a natural oil. Choose jojoba oil for oily or combination skin because it closely resembles skin’s natural sebum and won’t clog pores. For dry or mature skin, extra virgin olive oil or sweet almond oil offers deep moisturization and is rich in antioxidants. Add 3–5 drops of oil to your base and binder mixture. This step helps maintain the skin’s lipid barrier, ensuring the exfoliation process doesn’t strip away essential moisture.
Step 4: Add Optional Boosters Like Turmeric or Green Tea for Skin Benefits
To customize your scrub based on your skin needs, step four involves adding boosters that target specific concerns. Turmeric powder (just a pinch) can help with hyperpigmentation and acne due to its anti-inflammatory and brightening effects. For anti-aging and calming irritated skin, use finely ground green tea leaves or matcha powder. If your skin needs a vitamin C boost, a few drops of fresh lemon juice can be added—especially for oily or dull skin types. These natural boosters add therapeutic value to your scrub, turning it into a targeted skincare treatment.
Step 5: Apply the Homemade Face Scrub Correctly for Safe and Effective Results
The final step is the application technique. Always start with a clean, damp face to help the scrub glide smoothly. Using clean fingers, gently massage the scrub in circular motions for about 30–60 seconds, avoiding the delicate eye area. Rinse with lukewarm water and pat dry with a soft towel. For most skin types, using this scrub 1–2 times per week is sufficient. Overuse can lead to irritation or barrier damage. Always follow up with a light moisturizer or serum to seal in hydration after exfoliating. Proper application ensures maximum benefit from your homemade face scrub without harming your skin.
Making a homemade scrub for your face involves thoughtful ingredient selection and careful application. By following these five detailed steps—choosing the right base, adding a nourishing binder and moisturizing oil, incorporating optional boosters, and applying correctly—you can create a safe, natural, and effective exfoliator tailored to your skin’s unique needs.