Banana ice cream is one of the simplest and most satisfying homemade desserts. It needs no cream, no added sugar and not even an ice cream machine. All it takes is a few ripe bananas and a blender to create a creamy, soft serve style frozen treat that tastes far better than many store bought versions. The naturally sweet and smooth texture of frozen bananas makes them the perfect base for a healthy ice cream alternative.
This recipe is often called nice cream because it is nice to your taste buds and your body. There is no refined sugar or heavy cream involved, and yet the texture is as creamy and smooth as traditional ice cream. It is ideal for people who are vegan, lactose intolerant or just looking for a lighter dessert option. You can flavour it any way you like with ingredients such as cocoa powder, vanilla extract, cinnamon, berries or nut butters.
The best part is how adaptable this banana ice cream is. You can blend it smooth and eat it right away like soft serve or freeze it for a couple of hours to scoop it like traditional ice cream. It also makes a wonderful base for smoothie bowls or frozen fruit desserts. Let us make healthy and creamy banana ice cream at home in five simple steps.
Step 1: Choose and slice ripe bananas
Start with three to four fully ripe bananas. The skin should have brown spots and the bananas should feel soft to touch. This level of ripeness gives the best natural sweetness and creamy texture. Peel the bananas and slice them into medium sized rounds. The smaller the pieces, the easier they will blend later. Spread the slices on a plate or tray lined with parchment paper so they do not stick together while freezing.
Step 2: Freeze the banana slices
Place the tray of sliced bananas in the freezer for at least four to six hours or until the pieces are completely frozen. If you plan to store them for later use, you can transfer the frozen slices to an airtight container or zip lock bag after they are firm. Freezing is key to getting that ice cream like consistency without the need for cream or added fat.
Step 3: Blend the frozen bananas
Transfer the frozen banana slices into a high speed blender or food processor. Start blending slowly. At first, the bananas will look crumbly but keep blending and scraping down the sides in between. After a couple of minutes, the mixture will suddenly turn smooth, creamy and soft just like real ice cream. If needed, you can add a splash of milk or plant based milk to help it blend smoothly.
Step 4: Customise the flavour if you like
At this stage, you can enjoy your ice cream as is, or add flavour twists. Add one tablespoon of cocoa powder for a chocolate version, a teaspoon of vanilla extract for a classic touch, or a spoon of peanut butter for a rich nutty version. You can also blend in frozen berries, dates or cinnamon. Blend once more briefly to combine your flavours evenly.
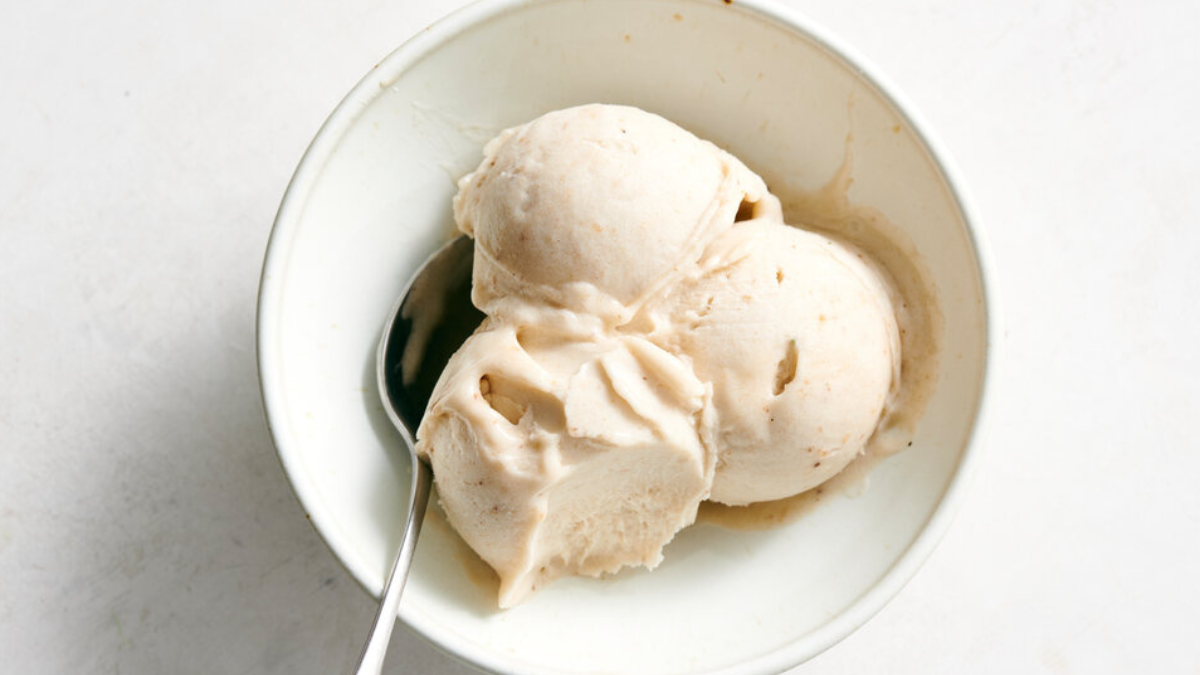
Step 5: Serve fresh or freeze for later
Your banana ice cream is now ready to serve. You can scoop it immediately for a soft serve texture or transfer it to a container and freeze for two to three hours for a firmer consistency. If freezing longer, let it rest at room temperature for five to ten minutes before scooping. Garnish with nuts, chocolate chips, fruit or honey depending on your mood and serve chilled.
Banana ice cream is a perfect example of how one humble fruit can turn into a luxurious dessert with minimal effort. It is healthy, customisable and naturally sweet, making it ideal for all ages. Whether you want a quick treat on a hot day or a healthier version of your favourite dessert, this recipe delivers on all fronts. Once you try it, you may never miss regular ice cream again.