Carrot and coconut energy balls are a perfect example of how healthy snacks can be both tasty and nourishing. These small bite sized treats are packed with fiber, healthy fats, and natural sweetness. They are ideal for a quick snack between meals, a pre workout boost, or a lunchbox addition for kids. The best part is that they are made with wholesome ingredients and do not require any cooking or baking.
These energy balls bring together the natural sweetness of carrots, the richness of coconut, and the nutty crunch of dry fruits and seeds. You can easily customize them to your liking by adjusting ingredients or adding flavors like cinnamon or vanilla. With no added sugar and no preservatives, they are far better than packaged snacks.Making them at home takes just five simple steps and a few minutes of your time. Whether you want a healthy snack on the go or something sweet after dinner, carrot and coconut energy balls are a delicious and guilt free choice.
Step 1: Grate fresh carrots for a moist base
Start by selecting two or three fresh medium sized carrots. Wash, peel, and grate them finely using a regular kitchen grater. Use the small side of the grater so that the carrot blends well into the mixture. You will need about one cup of grated carrot for this recipe.
Grated carrots provide moisture, natural sweetness, and a soft texture to the energy balls. Squeeze out excess moisture only if the carrots are too wet. A little bit of moisture helps hold the mixture together and avoids the need for added fats or binders.
Step 2: Gather the ingredients for flavor and nutrition
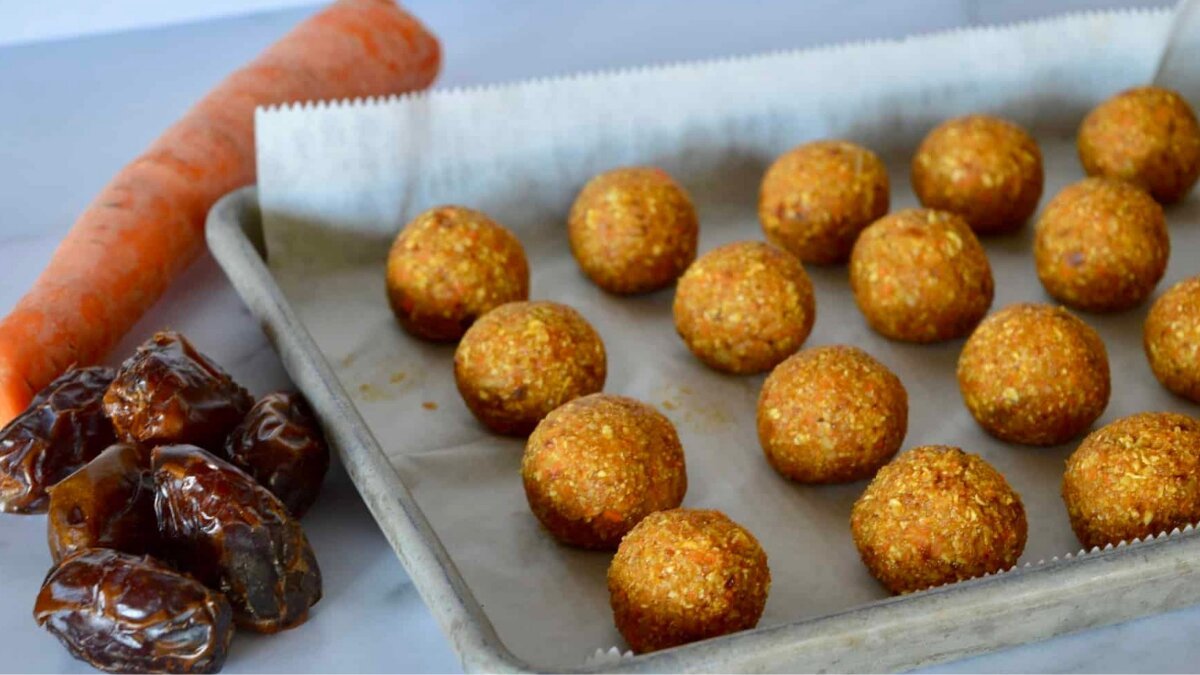
In a mixing bowl, combine the grated carrot with half a cup of desiccated coconut. Add a quarter cup of chopped nuts such as almonds, cashews, or walnuts. You can also include sunflower seeds, flax seeds, or chia seeds for extra nutrition. Add five to six soft dates that have been pitted and chopped.
Dates act as a natural sweetener and binding agent. If the dates are hard, soak them in warm water for ten minutes before using. You can also add a pinch of cardamom powder or cinnamon to give the mixture a warm, rich flavor. These ingredients make the balls both tasty and healthy.
Step 3: Blend everything into a sticky mixture
Transfer the entire mixture to a blender or food processor. Pulse a few times until the mixture becomes sticky and holds together. You do not need a completely smooth paste. The texture should be slightly coarse with small pieces of nuts and carrots still visible.
If the mixture feels too dry, you can add an extra date or a teaspoon of honey. If it feels too wet, add more desiccated coconut. The goal is to get a consistency that is easy to shape into small balls without crumbling apart.
Step 4: Roll into balls and coat with coconut
Take small portions of the mixture and roll them between your palms to form round balls. Each ball should be about the size of a small lemon or walnut. Once all the balls are shaped, roll them lightly in a plate of desiccated coconut to give them a beautiful coating and extra flavor.
The coconut coating not only looks good but also adds texture. You can skip this step if you prefer plain energy balls, but it is highly recommended for added taste and appeal.
Step 5: Chill for firmness and store for later
Place the energy balls on a tray and chill them in the refrigerator for at least thirty minutes. This helps them firm up and enhances their texture. Once they are set, transfer them to an airtight container and keep refrigerated for up to a week.
These carrot and coconut energy balls are best enjoyed chilled and make a perfect snack for busy days. You can also pack them for school or office, or serve them as a dessert after meals.
Carrot and coconut energy balls are a delicious way to enjoy a healthy snack made entirely from natural ingredients. This five step recipe is quick, easy, and completely no cook, making it perfect for people with busy schedules. With the natural sweetness of dates, the crunch of nuts, and the richness of coconut, these energy balls are both satisfying and nourishing. Try making them once and you will want to keep a batch ready in your fridge at all times.