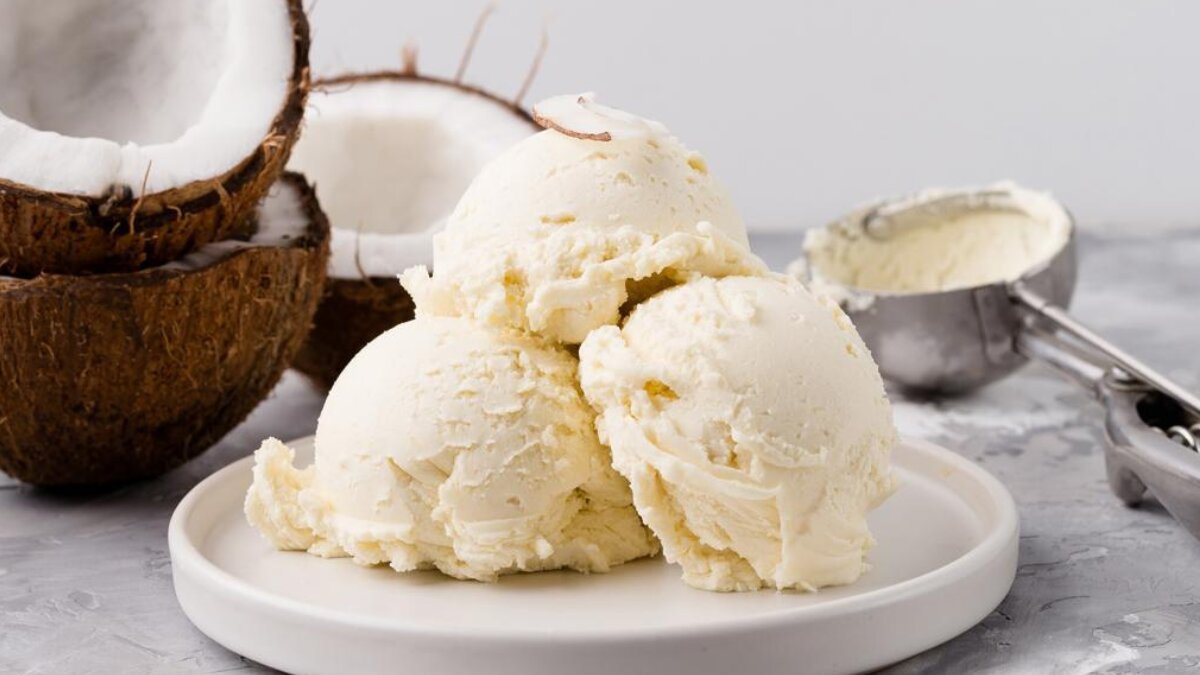
Savor the tropical flavor of homemade coconut ice cream
Coconut ice cream is a refreshing and creamy dessert loved for its light texture and delicate tropical flavor. Unlike regular ice creams that require heavy equipment or artificial ingredients, coconut ice cream can be made at home using just a few basic items. With the richness of coconut milk and the creaminess of fresh dairy or vegan cream, you can create a naturally smooth and flavorful frozen treat. This 5-step guide shows you how to make coconut ice cream at home without an ice cream maker, making it ideal for those who enjoy fresh, preservative-free desserts.
Step 1: Choose good-quality coconut milk or extract it fresh at home
Start with two cans of full-fat coconut milk or make your own using freshly grated mature coconut blended with warm water. If making at home, strain the coconut milk through a muslin cloth to remove the pulp and ensure smoothness. The quality of coconut milk directly affects the flavor and texture of the ice cream. Rich, creamy milk adds a deep coconut flavor and helps the ice cream stay soft. Avoid using low-fat or watered-down versions, as they result in icy or bland textures.
Step 2: Prepare the coconut ice cream base with cream and sweetener
In a large mixing bowl, combine the coconut milk with 1 cup of fresh cream (dairy or plant-based), ¾ cup of sugar, and a pinch of salt. Whisk the mixture until the sugar is fully dissolved and everything is well blended. For added aroma, you can include a splash of vanilla essence or a few drops of coconut extract. This step creates a smooth, rich base that will freeze into a creamy texture. The balance of fat and sugar helps the ice cream remain soft and scoopable even after freezing.
Step 3: Chill the mixture and pour into a freezer-safe container
Once the ice cream base is ready, refrigerate it for at least 2 hours to make it very cold. This step is important to ensure faster freezing and a smoother texture. After chilling, pour the mixture into a freezer-safe container. You can use a metal loaf tin, glass bowl, or any container with a tight-fitting lid. Cover the surface with a layer of cling film or parchment paper to prevent ice crystals from forming. Smooth the top and seal the container before placing it in the freezer.
Step 4: Stir periodically for a creamy, scoopable texture
During the first 4 hours of freezing, remove the container every 30 to 45 minutes and stir the ice cream vigorously using a fork or hand whisk. This process breaks up any ice crystals and ensures the texture remains creamy. Do this 3 to 4 times until the mixture becomes thick and semi-frozen. After the final stir, let the ice cream freeze completely for 6 to 8 hours or overnight. This manual churning step mimics an ice cream maker and makes a big difference in smoothness and taste.
Step 5: Serve your homemade coconut ice cream with toppings or as is
Once fully frozen, your homemade coconut ice cream is ready to be served. Allow it to sit at room temperature for a few minutes to soften slightly before scooping. You can enjoy it plain or pair it with toppings like roasted coconut flakes, chopped nuts, fresh mango, or chocolate drizzle. This ice cream is naturally dairy-free if made without cream and works wonderfully as a vegan dessert. The refreshing flavor of coconut combined with the creamy consistency makes it a perfect summer treat.
Homemade coconut ice cream offers natural flavor with no preservatives
Making coconut ice cream at home is surprisingly simple and incredibly satisfying. With just a few ingredients and a little patience, you can create a dessert that’s free from artificial thickeners or preservatives. Whether you prefer it dairy-free or creamy with added toppings, this tropical treat is easy to customize and always delicious. Enjoy the purity and flavor of coconut in its most refreshing form made fresh, naturally, and just the way you like it.