Enjoy delicious homemade ice cream in your kitchen
Making ice cream at home is a fun and rewarding experience, especially when you realize how simple it is. You don’t need an ice cream maker or complicated tools just a few everyday ingredients, a freezer, and a bit of patience. Homemade ice cream allows you to control the quality of ingredients, avoid artificial additives, and create unique flavors that reflect your personal taste. Whether you love classic vanilla or want to experiment with chocolate, fruits, or nuts, this step-by-step guide will show you exactly how to make creamy ice cream at home in a stress-free way.
Step 1: Choose your ice cream base ingredients wisely
The first step to making delicious ice cream at home is selecting the right ingredients. A rich and creamy texture begins with a combination of heavy cream, whole milk, granulated sugar, and vanilla extract. These ingredients form the classic base for most ice creams. If you’re looking for dairy-free or vegan options, you can substitute with full-fat coconut milk or almond milk, though the texture may not be as smooth. Using full-fat dairy is essential because it helps the ice cream maintain its creamy consistency when frozen. This base is the foundation of your recipe, and it can easily be adapted for different flavors depending on what you want to create.
Step 2: Mix and blend the ice cream base properly
Once you’ve gathered your ingredients, it’s time to mix them thoroughly. Combine the cream, milk, sugar, and vanilla extract in a large bowl. Use a hand whisk or electric mixer to blend the mixture until the sugar is completely dissolved. This process takes a few minutes and helps ensure a smooth texture in the final product. Mixing well is crucial, it aerates the mixture and prepares it for freezing. If you want to make a chocolate variation, add cocoa powder or melted chocolate during this stage. For fruit-based ice creams, blend fruit into a puree and stir it in gently. This is the stage where the ice cream flavor is developed, so it’s your opportunity to adjust sweetness and taste before freezing.
Step 3: Freeze the ice cream using the right container
After your mixture is ready, pour it into a freezer-safe, airtight container. A shallow metal pan or loaf tin works best, as it allows the mixture to freeze faster and more evenly. Cover the top with plastic wrap, making sure it touches the surface of the mixture to prevent ice crystals from forming. Place the container in the coldest part of your freezer for about 45 minutes. Take it out and stir the mixture well using a fork or whisk, breaking up any forming ice. This helps incorporate air and improves creaminess. Return it to the freezer and repeat the stirring every 30 minutes for about 3 hours. After the final stir, let it freeze completely for 4 to 6 hours, or preferably overnight, until it firms up like traditional ice cream.
Step 4: Customize your ice cream with unique flavors and add-ins
Once your ice cream begins to thicken during the stirring process, it’s the perfect time to add any extra ingredients you love. Whether it’s crushed cookies, chopped chocolate, nuts, or swirls of caramel or fruit preserves, these add-ins enhance the flavor and texture. You can gently fold in fresh mango pieces, strawberry chunks, or peanut butter ribbons to give your homemade ice cream a creative twist. It’s important not to overmix at this stage, as it can flatten the mixture and reduce creaminess. Customizing your ice cream lets you enjoy a dessert that’s truly your own, with endless options for every season and craving.
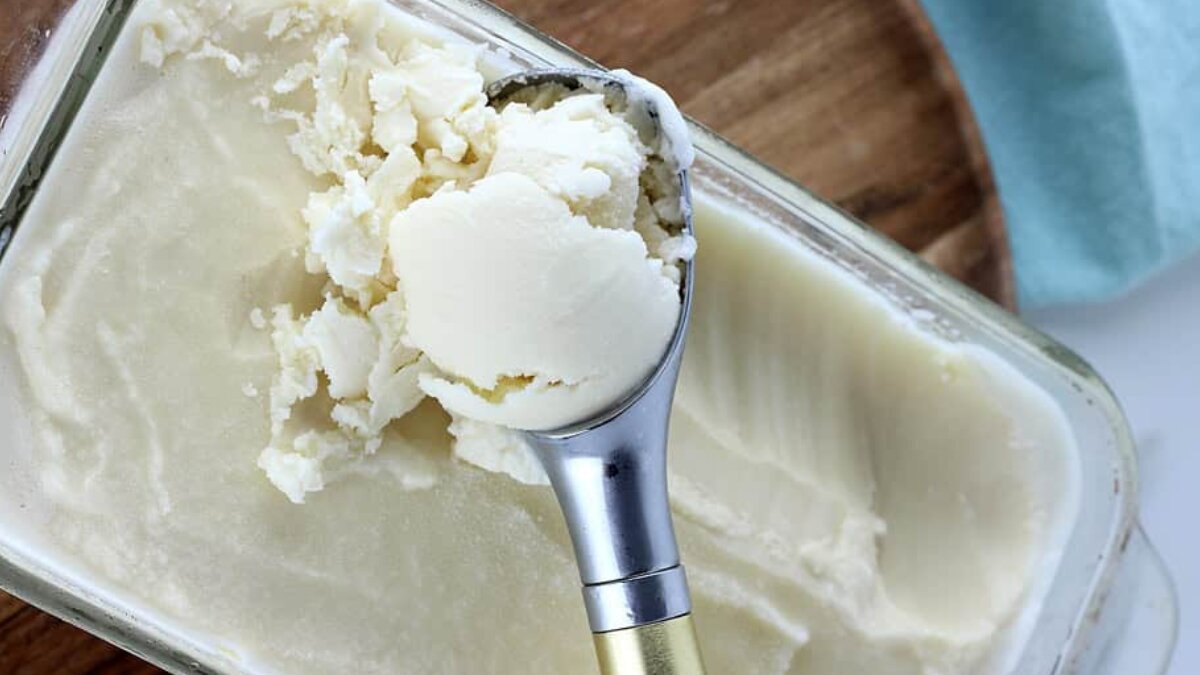
Step 5: Serve your homemade ice cream like a pro
After freezing overnight, your ice cream will be ready to enjoy. Let it sit at room temperature for a few minutes to soften slightly, which makes scooping easier. Use a warmed spoon or ice cream scooper to serve neat, rounded portions. You can present it in bowls, cones, or even get creative with homemade ice cream sandwiches. If you’re serving guests, a drizzle of chocolate sauce, a sprinkle of chopped nuts, or a fresh fruit garnish can elevate the presentation. Store any leftovers in an airtight container in the freezer, and always keep the surface covered to prevent freezer burn. Homemade ice cream is best enjoyed within two weeks for optimal texture and flavor.
Make ice cream at home easily without a machine
Learning how to make ice cream at home in simple steps is not only satisfying but also opens up a world of flavor possibilities. You no longer need to rely on store-bought tubs full of additives when you can create your own healthier, tastier version right in your kitchen. From choosing the perfect base to adding your favorite toppings, every step brings you closer to a refreshing, creamy dessert that’s perfect for warm days or any time you need a sweet treat. Once you try this no-churn method, you’ll be tempted to make ice cream a regular part of your homemade dessert routine.