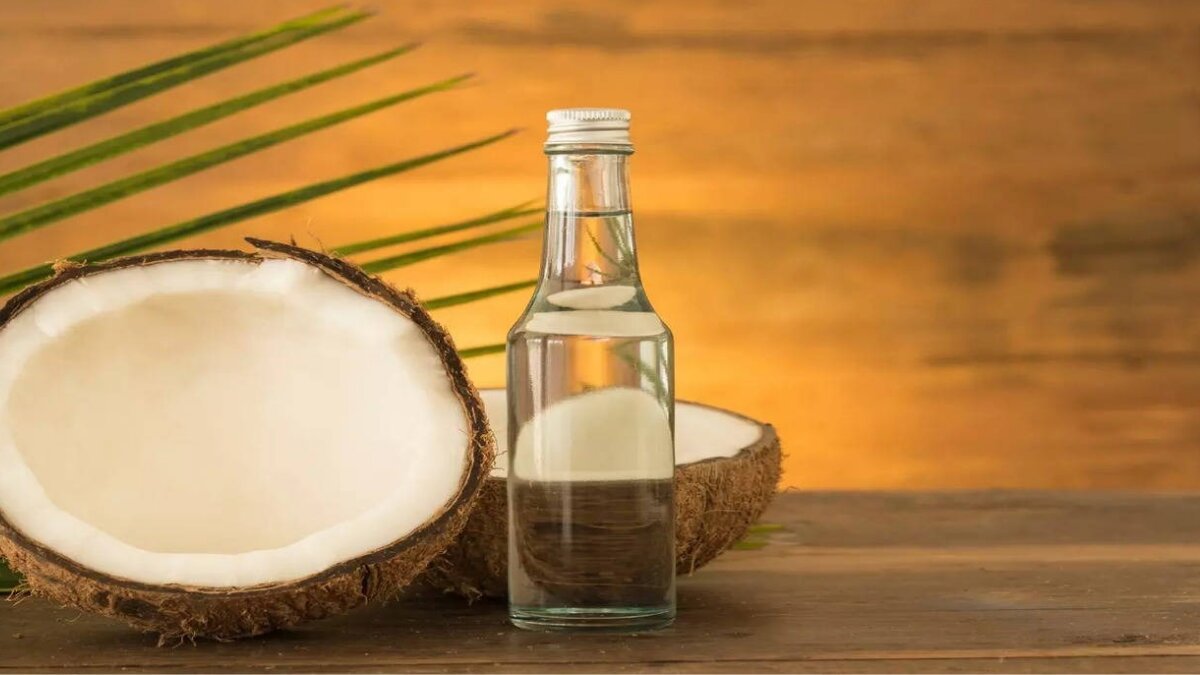
Experience the goodness of pure homemade coconut oil
Coconut oil is valued for its versatility, offering benefits for cooking, skincare, haircare, and even traditional remedies. While commercially available oils are often refined or contain additives, making coconut oil at home ensures purity and freshness. It allows you to extract every drop of goodness from fresh coconuts using a natural process without any chemicals or preservatives. This step-by-step guide helps you prepare cold-pressed coconut oil right in your kitchen with just coconuts, water, and patience.
Step 1: Select mature coconuts and grate them for maximum extraction
Start by choosing 3–4 mature, brown coconuts with hard shells and plenty of meat inside. Avoid green or tender coconuts, as they contain more water and less oil. Break the coconuts, collect the water separately if desired, and scoop out the white flesh. Rinse the coconut meat to remove any dust or shell residue. Grate the coconut finely using a hand grater or food processor. Freshly grated coconut is the foundation for pure coconut milk, which is essential for extracting clean, flavorful oil.
Step 2: Blend and strain to collect fresh coconut milk
Once the coconut is grated, transfer it to a blender and add warm water about 1 to 1.5 cups for each coconut. Blend until the mixture becomes smooth and milky. Use a clean cotton cloth or muslin to strain the mixture into a large bowl, squeezing tightly to extract thick coconut milk. Repeat this process once more with the leftover pulp and a little more warm water to get the second batch of thinner milk. Combine both extracts and let the liquid sit for a few hours to separate naturally.
Step 3: Allow natural separation of cream and water
After resting for 4 to 6 hours (or overnight), the coconut milk will separate into two layers thick coconut cream on top and water underneath. Gently skim off the creamy layer using a spoon and transfer it to a thick-bottomed pan or kadai. This step is important because the cream contains the natural oils that will be released when heated. Discard the leftover water or use it for cooking rice or curries. The separation process ensures the oil you extract is pure and free of excess moisture.
Step 4: Heat the coconut cream until oil separates naturally
Place the collected cream on medium heat and stir occasionally to prevent burning. Slowly, the cream will begin to cook, thicken, and release oil. After 20 to 30 minutes of heating, you’ll notice the oil separating from the solids, and the mixture will begin to brown and bubble. Continue cooking until the solids turn golden brown and sink, indicating that the oil is ready. Turn off the heat and allow the mixture to cool slightly. The gentle heating method keeps the oil’s natural fragrance and nutrients intact.
Step 5: Strain and store the pure coconut oil in a clean jar
Once the mixture is cool enough to handle, strain the oil using a clean muslin cloth or fine mesh strainer into a dry, airtight glass jar or bottle. Make sure no solids are left behind. Let the oil cool completely before sealing the container. Store your homemade coconut oil in a cool, dry place away from sunlight. It stays fresh for several months and can be used for cooking, skin moisturizing, hair conditioning, or traditional oil massages. Since it’s homemade, it’s free from chemicals and full of natural benefits.
Homemade coconut oil is a natural, healthy, and multipurpose choice
Making coconut oil at home might take some effort, but it guarantees purity, safety, and high quality. Whether used in your kitchen or in your skincare routine, homemade coconut oil is rich in nutrients and free from preservatives or artificial fragrances. With just a few coconuts and a little time, you can enjoy fresh, aromatic coconut oil that supports your health and beauty routines naturally. Once you try making it yourself, you’ll appreciate its clean taste and rich texture more than ever.