Experience the freshness of homemade curd every day
Curd, or dahi, is a staple in many households across the world, especially in South Asia. It’s healthy, cooling, and adds a refreshing element to any meal. Store-bought curd often contains added stabilizers or lacks the natural flavor of homemade dahi. Fortunately, making curd at home is incredibly easy, requires just two ingredients, and doesn’t need any fancy tools or appliances. With the right temperature, time, and a good starter, you can get thick, creamy curd with just minimal effort. This step-by-step guide will show you exactly how to do it the traditional way, straight from your own kitchen.
Step 1: Boil and cool the milk for the perfect base
Start by boiling 1 liter of full-cream milk in a heavy-bottomed pan. Boiling the milk is essential because it not only kills any unwanted bacteria but also reduces water content, leading to thicker curd. Once the milk comes to a rolling boil, let it simmer for 2–3 minutes while stirring occasionally to prevent burning. After boiling, remove it from heat and allow it to cool. The milk should cool down until it’s just warm to the touch around 40–45°C. If it’s too hot, it can kill the starter bacteria; if it’s too cold, fermentation won’t happen properly. You can test the temperature by dipping a clean finger, it should feel warm, not hot.
Step 2: Add the starter curd to warm milk and mix gently
Take 1 to 2 teaspoons of fresh curd (also known as the starter) and add it to the warm milk. Make sure the curd is at room temperature and not cold from the fridge. Mix it gently in circular motions using a spoon so that the starter is well distributed. The amount of starter curd may vary depending on your region’s climate, a bit more may be needed in colder places. Using good quality, fresh curd as a starter will directly affect the taste and texture of your homemade curd, so avoid using sour or old curd for this step.
Step 3: Cover and set the milk in a warm, undisturbed place
Once the starter is mixed, cover the bowl or container with a lid or a clean cloth and place it in a warm, dry corner of your kitchen. Curd needs a consistent warm temperature to set properly ideally between 30–40°C. Avoid disturbing or moving the container while it sets. Depending on the room temperature, it may take 6 to 10 hours for the curd to set. In hotter climates, it may be ready sooner, while colder areas may require wrapping the container in a towel or placing it in a warm oven (turned off) to maintain the right conditions. Avoid peeking during this time, as disturbing the milk can lead to watery curd.
Step 4: Refrigerate the curd after it sets to maintain texture
Once the curd has set and become firm to the touch, place it in the refrigerator to stop further fermentation. Cooling the curd also helps it thicken slightly and develop a smooth, creamy texture. Homemade curd is best stored in an airtight container and consumed within 3–4 days. If left out for too long after setting, it may become sour. Refrigeration also ensures that you can reuse a portion of this curd as a starter for your next batch. Just remember to remove a small portion before the curd turns too sour, and keep it in a separate container for reuse.
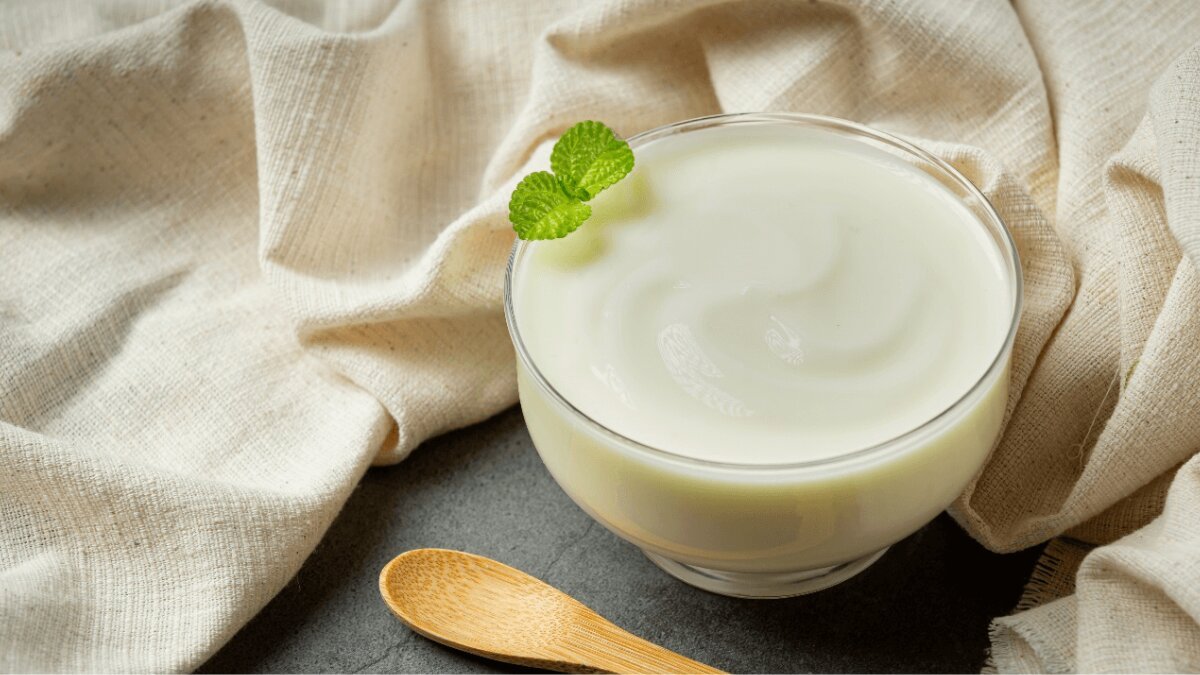
Step 5: Serve plain or use in recipes for a natural probiotic boost
Your homemade curd is now ready to be enjoyed. You can eat it plain, sweeten it with sugar or honey, or add fruits for a healthy dessert. It also works beautifully in smoothies, raitas, lassis, and curries. Homemade curd is a rich source of probiotics that support digestion and boost immunity. The best part is that it’s completely natural,no artificial thickening agents or preservatives. Making curd at home not only saves money but also gives you a fresh, healthy alternative to packaged dairy. Once you’ve made it once, it easily becomes part of your daily routine.
Homemade curd is simple, wholesome, and rewarding
Making curd at home is one of the easiest and most satisfying kitchen habits you can adopt. With just milk and a bit of starter, you can prepare thick, fresh, and chemical-free curd that beats anything bought from the store. Whether eaten on its own or used in cooking, homemade curd adds flavor and nutrition to your meals. Once you get used to the process, it becomes second nature. Just follow the right temperature and give it time to set, you’ll have perfect curd every time, right from your own kitchen.